Some of my favorite shots from Monday's shoot with Trever Hoehne and model Cailin Russo Hair and Makeup: Amy Clarke, Stylist: Summer Watkins, Producer/Style Design: Jessie Simonson

Some of my favorite shots from Monday's shoot with Trever Hoehne and model Cailin Russo Hair and Makeup: Amy Clarke, Stylist: Summer Watkins, Producer/Style Design: Jessie Simonson
I got the opportunity to work with Trever Hoehne again on an amazing shoot with past Survivor contestant and Fashion Model, Sydney Wheeler. Sydney is beautiful in person and on film as you can see. I really enjoyed working with her. Below are a few shots from the day.
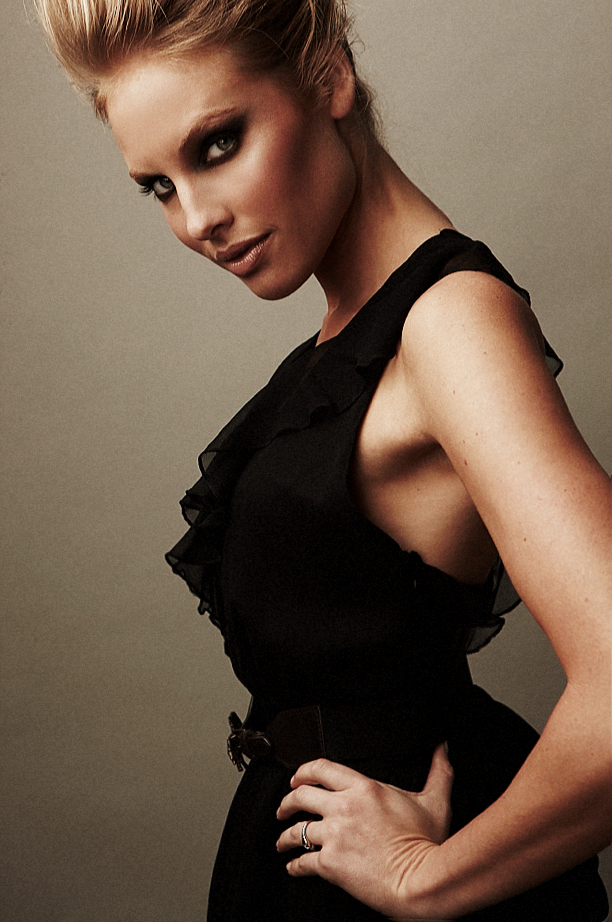
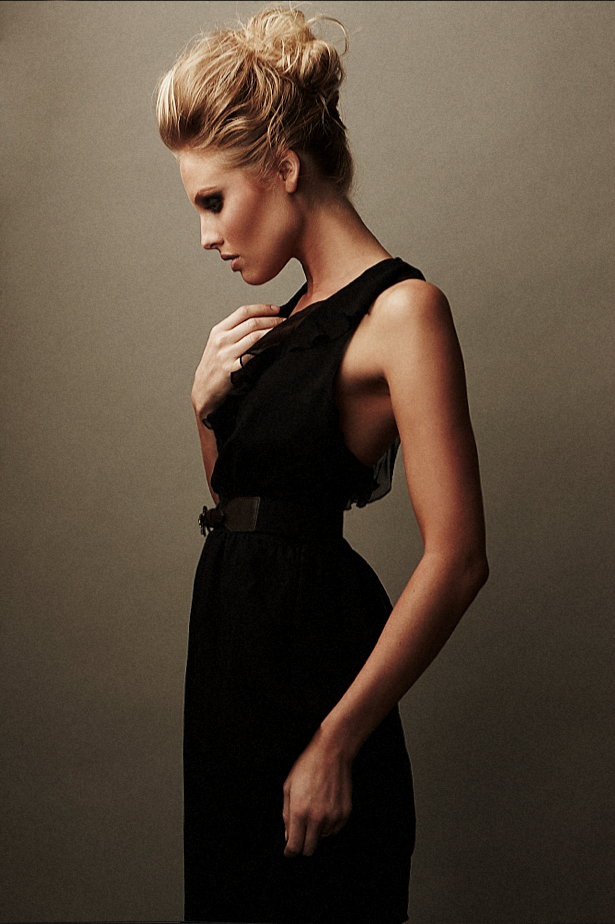
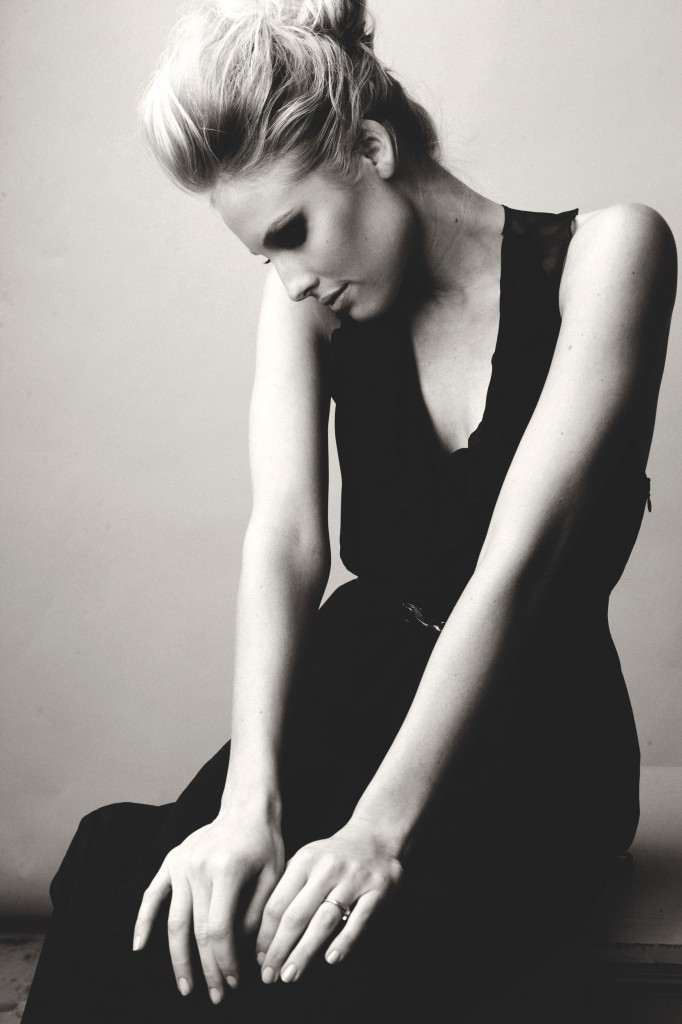
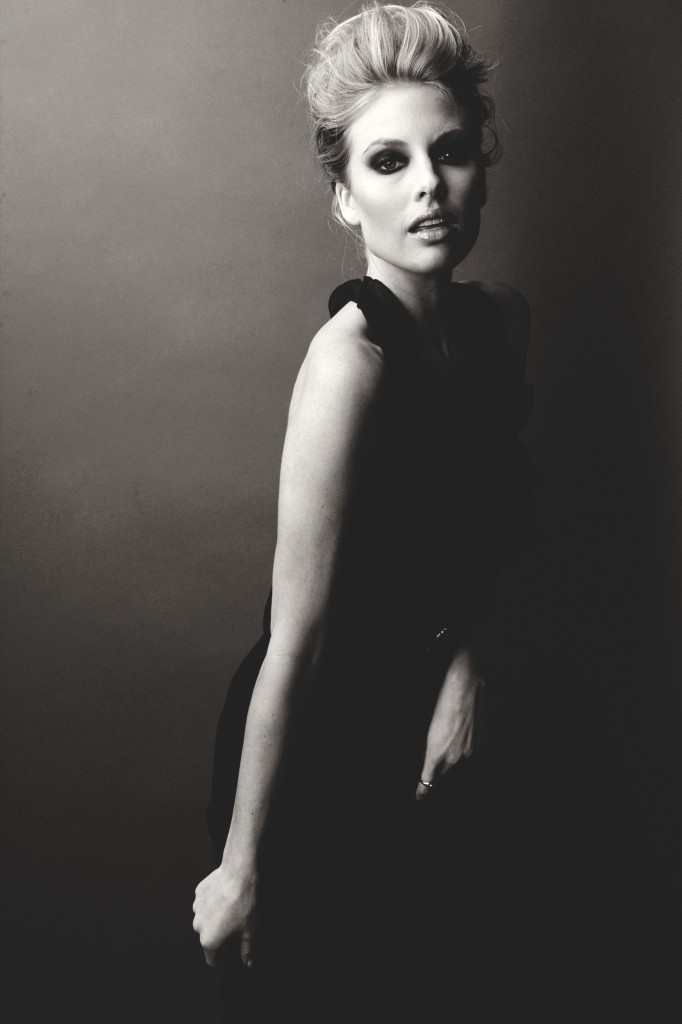
Contributers:
Photography: TREVOR HOEHNE
Makeup: AMY CLARKE
Hair: LADY DIANNA
Styling: SUMMER WATKINS
Producer: JESSIE SIMONSON
Model: SYDNEY WHEELER
I am a huge fan of a bold red lip or any red lip for that matter! But sadly, I have found over the years that many women are intimated by the even thought of wearing it. So, I thought I'd share my fool proof way of applying RED lipstick. Below are 9 easy steps to the perfect application. No more excuses!!
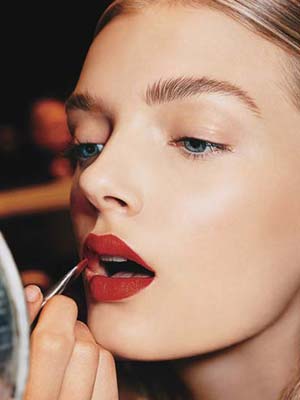
1. First you must pick the right color for your skin tone: Skin with yellow undetones looks best in orangey-red lipsticks or red lipsticks with a golden base. If you have an ultra milky complexion that rivals Snow White, chances are you also have cool, rosy undertones. As a general rule, pinkish skin calls for a red lipstick that is blue-based. Those with olive skin can wear fire-engine red. Dark skin looks great with deep reds. If you are unsure of your skin tone just go to a makeup counter and ask them to recommend you 5 or 6 red lipsticks, then try them all on. I'm sure you'll find the color that looks best on you!
2. Now to the application part! When I'm applying red lipstick on me or my model I always make sure the lips are nice and moist without any dry, flakey skin. If the lips are dry and flakey the red lipstick will just make it more noticeable. I will begin the makeup application by adding a heavy lip balm and letting it sit while I do the rest of the makeup. Then I will take a disposable toothbrush and brush off the excess skin. Lastly I will take a tissue and dab off any extra lip balm.
3. I like to add a thin layer of foundation or concealer to the lips and wait until it dries. This will help keep the lipstick on and prevent it from bleeding. You can also dab face powder over it to make sure the color will last longer
4. I then choose a nude or skin-colored lip liner to make sure I don’t end up having two-toned lips. This is a great way to see if you have uneven lips and correct them.
5. After outlining the lips I will smudge the nude lip liner a bit to achieve more natural look.
6. This next tip I always do but you can get away with just a nude lip liner if you don't have a matching red lipliner. I take a red lipliner, usually the same shade or darker than the lipstick I'm applying, and re-line the lips filling them in completely. This will ensure a longer lasting lipstick.
7. Now comes the fun part! Apply the red lipstick with help of lipstick brush! You will have just the right amount of product and more control in the application. My all time FAVORITE lip brush the the #2N Lip Brush from Makeup Forever. It works with both thin and full lips and has the perfect angles. Start at the center of your lips blending color to the sides of your lips.
8. This is something I've added to my steps only in the last 3 years that has made a HUGE difference in my red lips. I take a thin, natural bristled brush or concealer brush and gently apply a cream concealer (a shade slightly lighter than the skin tone) to the outsides of the lips and blend it well. This will not only keep your red lipstick in place, it will make them pop that much more! Trust me on this one!!
9. Lastly, press a clean tissue to your lips and get a second coat to make sure color stays long enough. To make your lips fuller add a brighter lipsstick color to the center of your lips and then add a lip gloss mostly in the center to finished the look.
Thats it! I know it may seem like alot but your lipstick will last and will look picture perfect!!
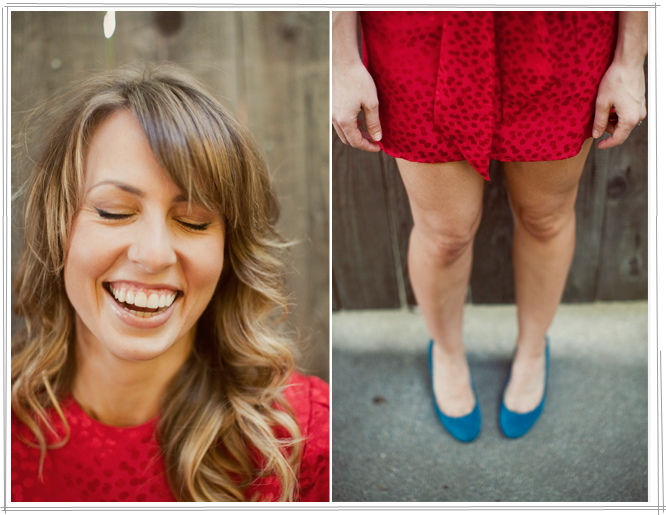
Here are some cool shots from a recent shoot I did with Trever Hoehne. You know him. He's incredible. Pretty ladies.
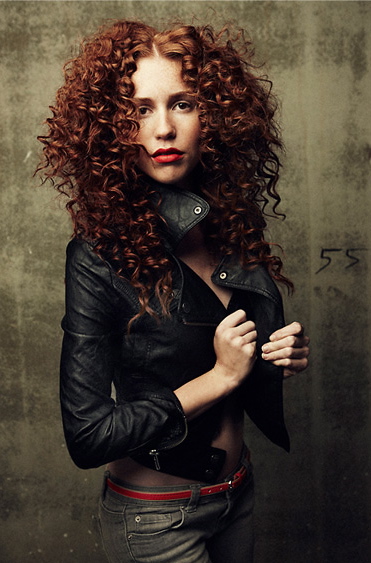
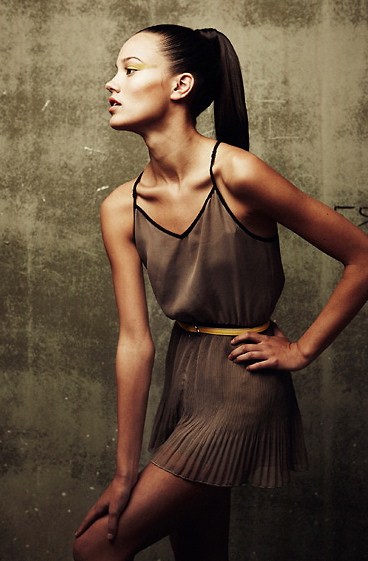
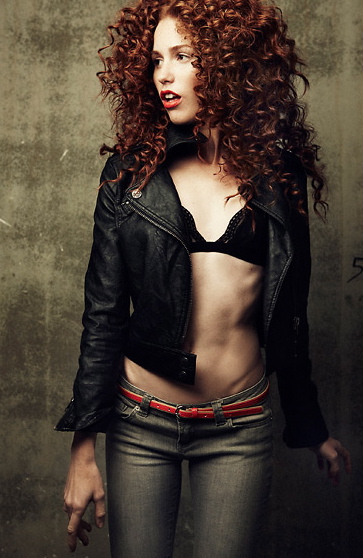

Contributors:
Photography: Trever Hoehne
Styling:: Summer Watkins
Producer:: Jessie Simonson
Hair:: Dianna Lopez
Models:: NoTies
I know the saying goes "Diamonds are a girls best friend" but I now feel that Mia Clarisonic is clearly a girls new best friend! I'll explain why; In case you’re not yet familiar with this skin cleansing tool, the Clarisonic uses sonic technology which creates 300 movements per second for the brush head to provide a facial cleansing experience that nothing else on the consumer market can even compare to in my opinion.
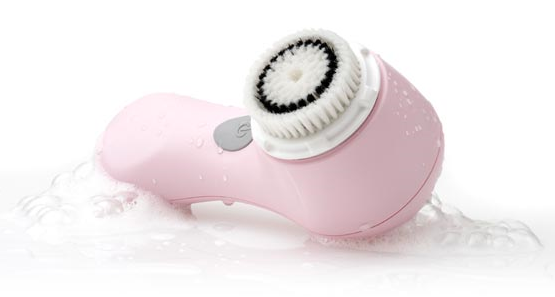
In just a single use after a long day of wearing a full face of makeup, with Mia’s 60 second cycle I was clean as a whistle. My skin was GLOWING (not even slightly red!), cleansed better than ever before, and had a smoothness to it closely resembling one of my rare facial sessions. It was so gentle and easy to use too! All I did was remove my eye makeup first with my remover by hand, and lightly moisten my face and the Mia’s brush head with tap water. Then, I applied a nickel-sized amount of my regular facial cleanser and went to work. I turned the Mia on, and cleansed each area of my face using small circular motions in sections at short intervals. (forehead: 20 sec.,cheeks: 10 sec. each, nose/chin: 20 sec.) Mia will automatically turn off after one minute has elapsed, and you are finished! In case you were wondering, the Mia will give 20 uses on one full charge.
I noticed right away the difference in my skin (and so did my husband). It made my face a better canvas for my foundation and I noticed my face lotions absorbed directly into my skin rather than just sitting on all the dead skin cells that my normal routine used to leave behind.
To sum it up: The Mia Clarisonic is by far the MOST important beauty product I own!
Anyway, if you've heard alot of hype and didn't want to lay down the cash I am here to say I felt the same way and I wish I would have purchased this years ago when it first came out...and I'm pretty sure my face does too!
The Mia costs $149 at Sephora.com, ULTA.com, and SkinCareRx.com. All of these sites offer 20% off discounts every now and then, so don't pay full price for it. Wait for a sale! I got mine at a makeup show earlier this year and it was the best purchase I made that day hands down!!
I have a yellow one but I recently found a cute limited addition one in leopard print, Click here to buy it from Sephora.
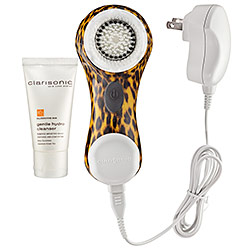 Let me know what you think! And if you own one I definitely want to hear from you!
Last week I got the opportunity to work with the talented singer/ Actress Bree Randall. She was even more beautiful in person and equally as beautiful on the inside too! I loved the theme she came up with and her wardrobe was to die for! Oh and P.S. That's all her real hair!! Here is some of my favorite shots from the day:
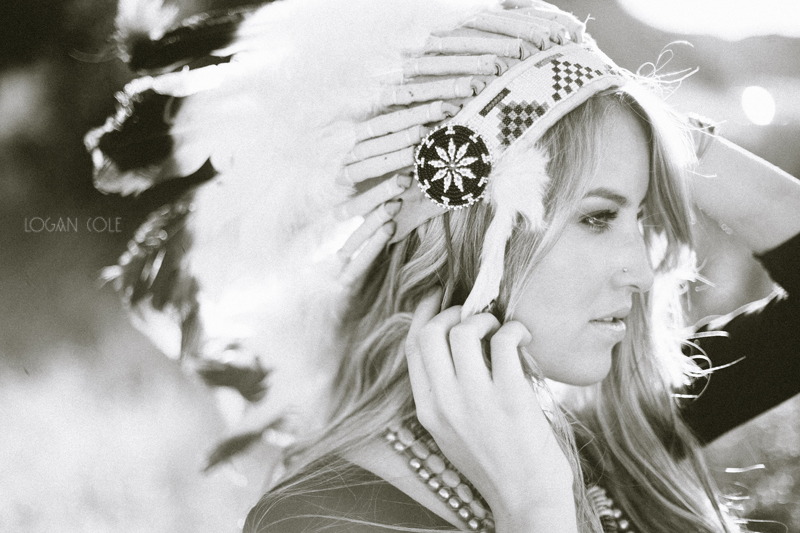
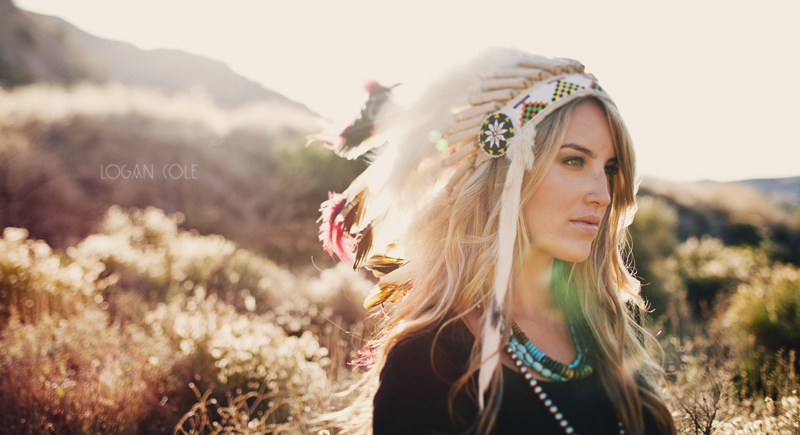
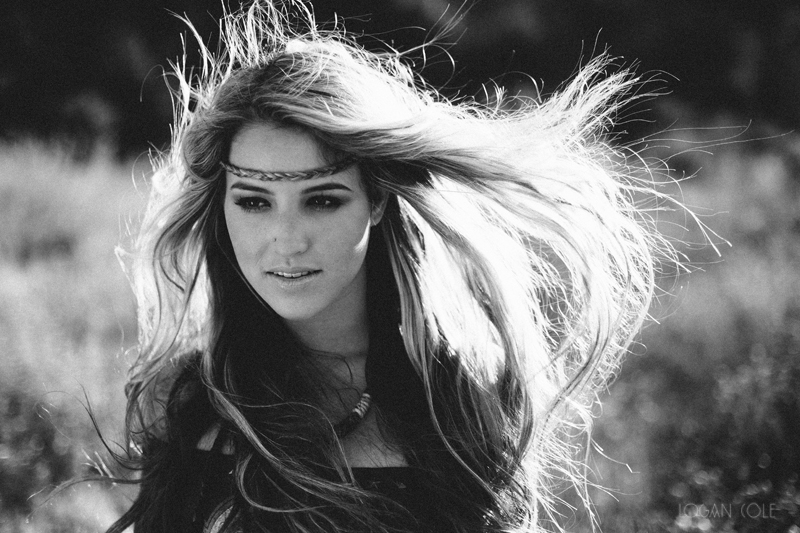
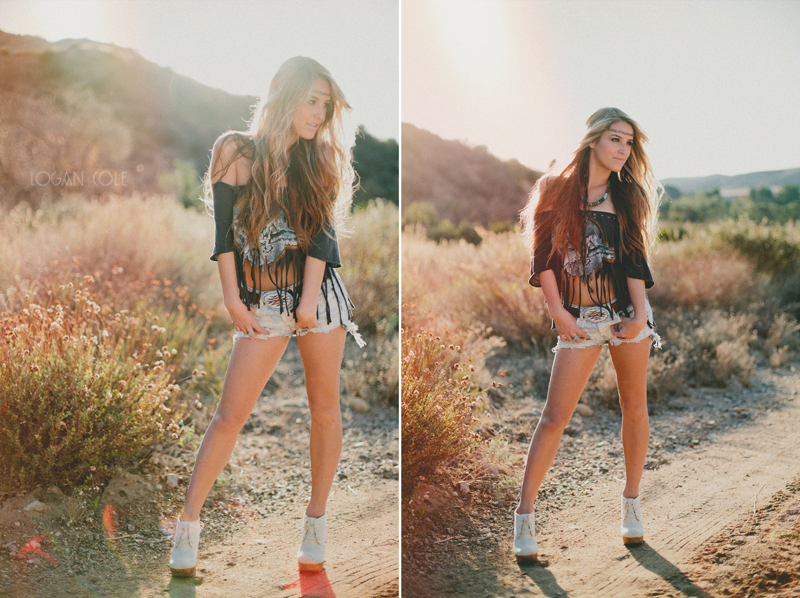
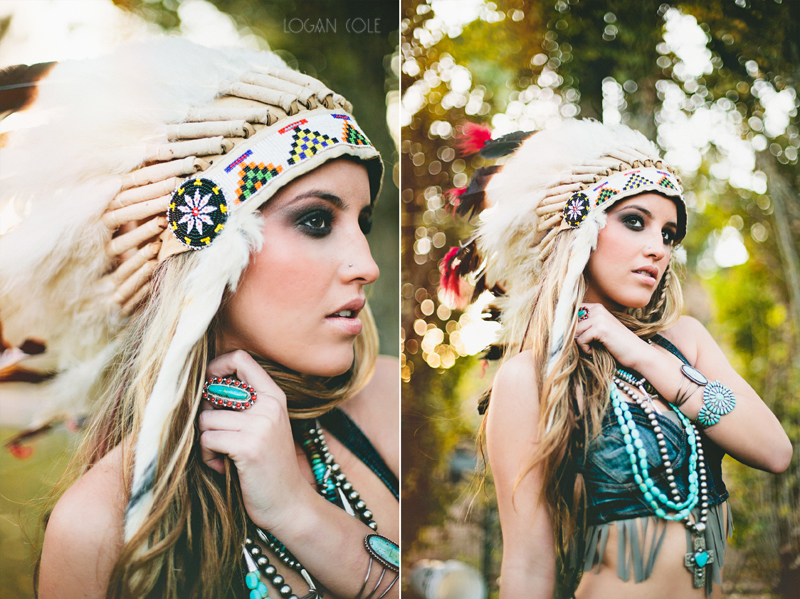
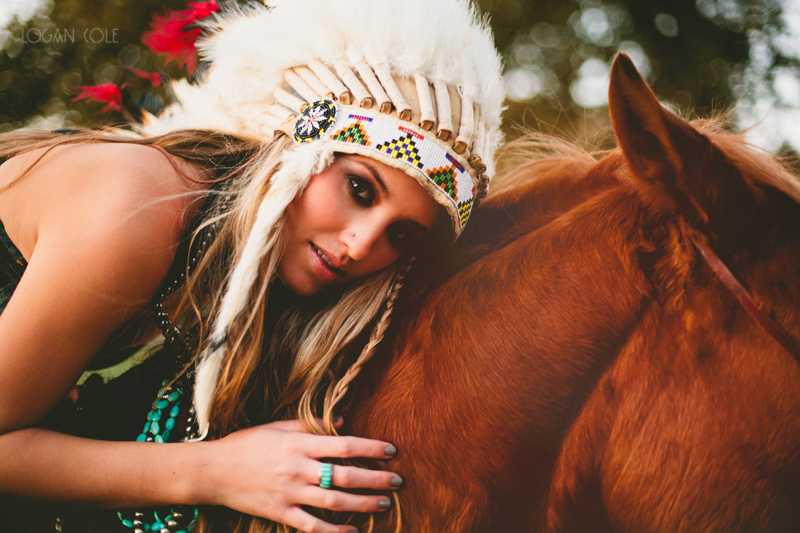
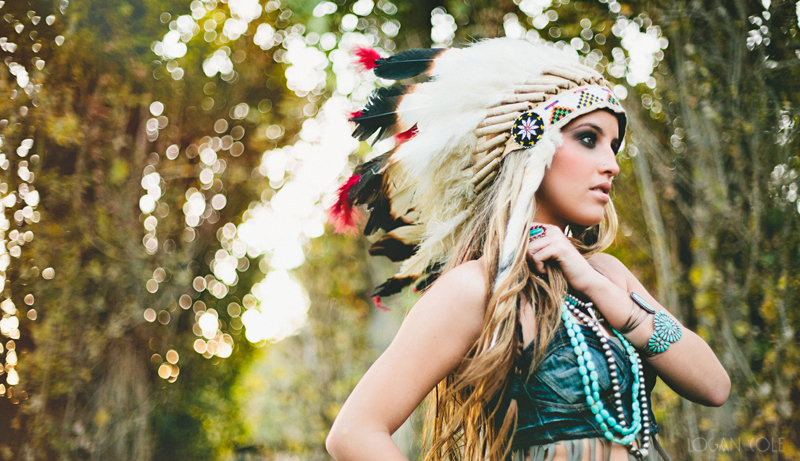

Credits:
Photography: Logan Cole
Makeup: Me :)
Hair: Lady Dianna
Styling: Erica Happy

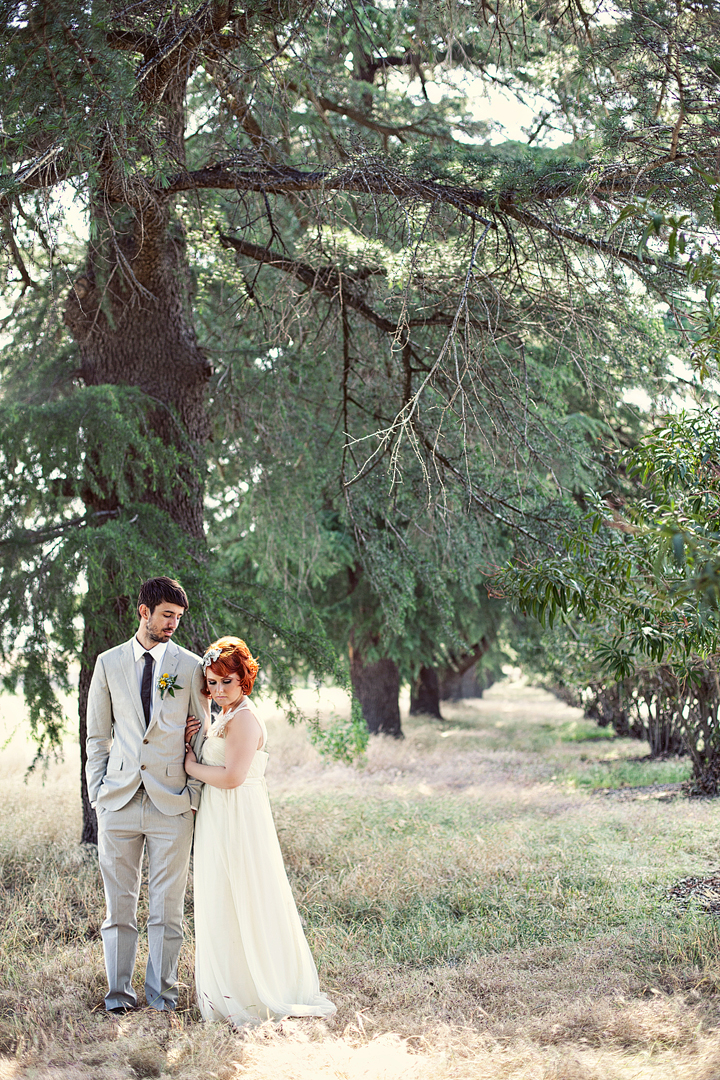
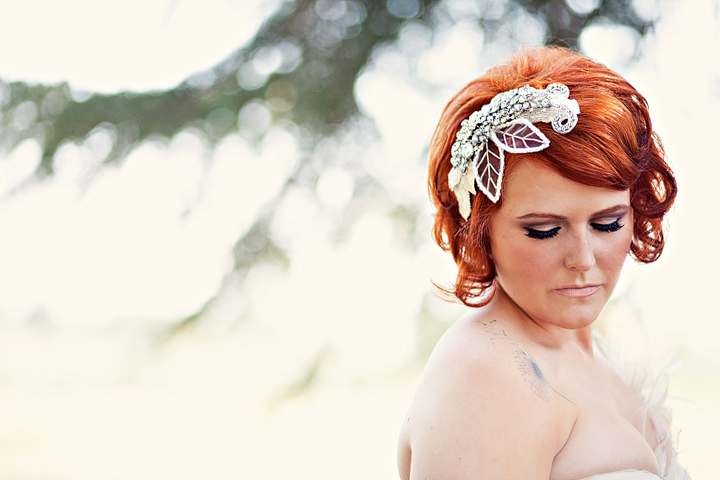
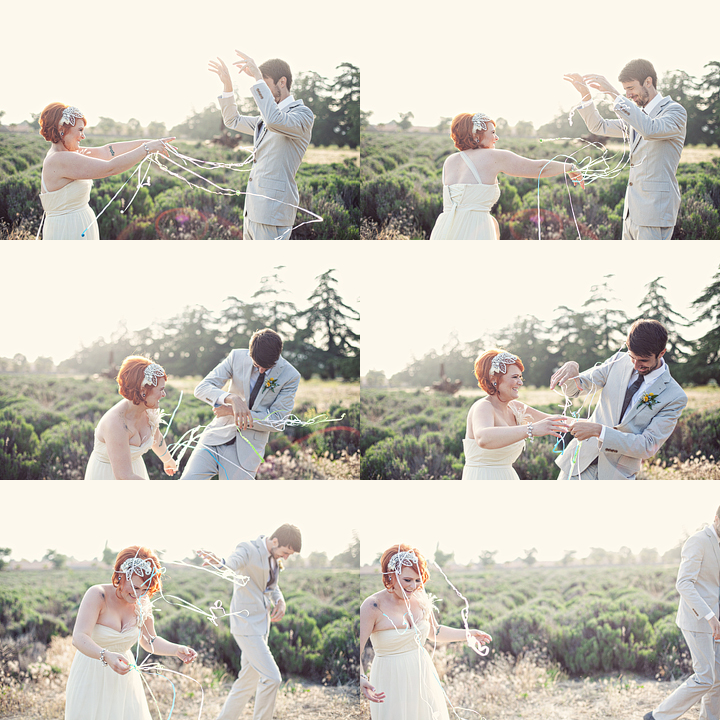
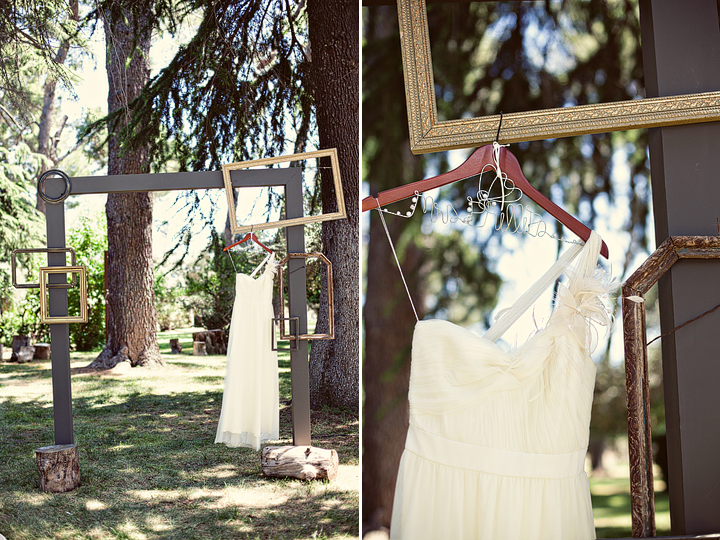
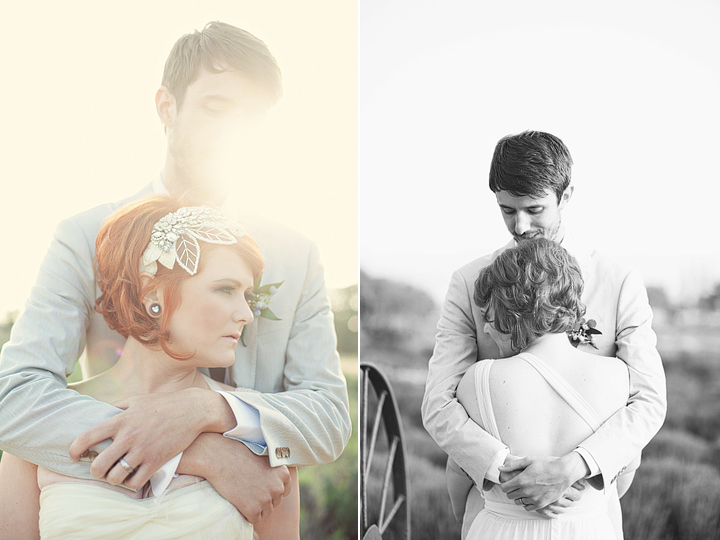
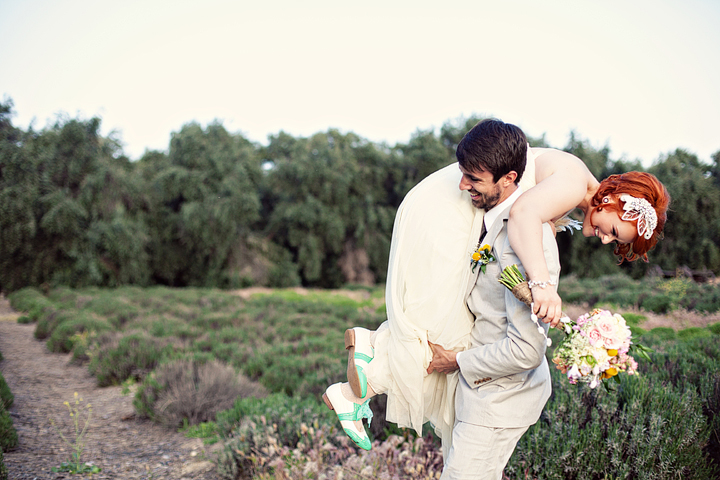
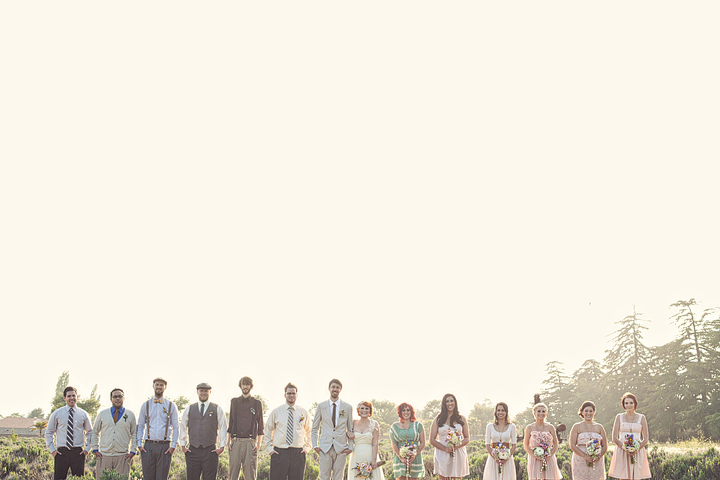
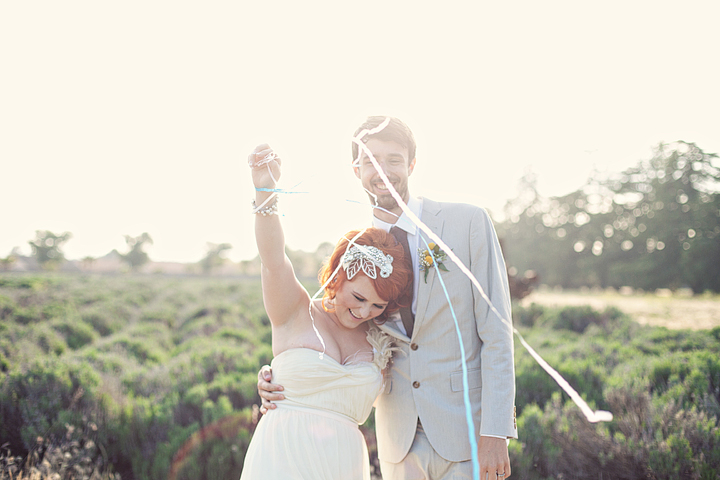
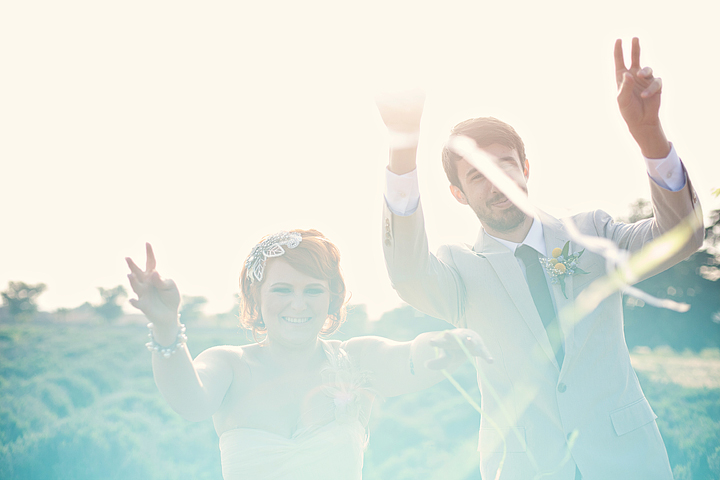
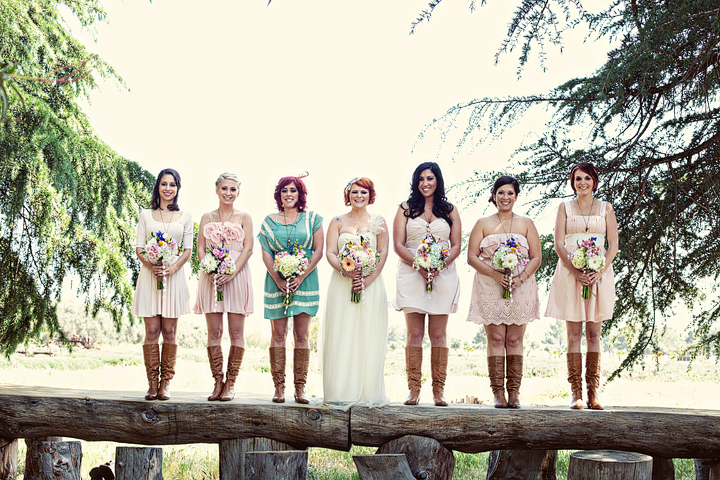
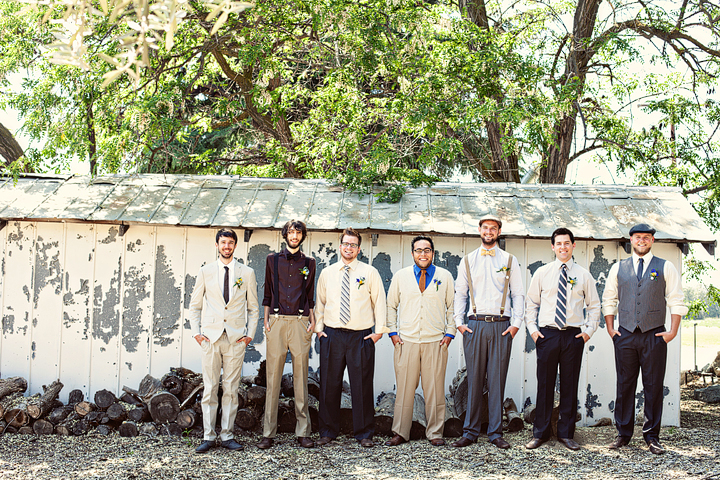
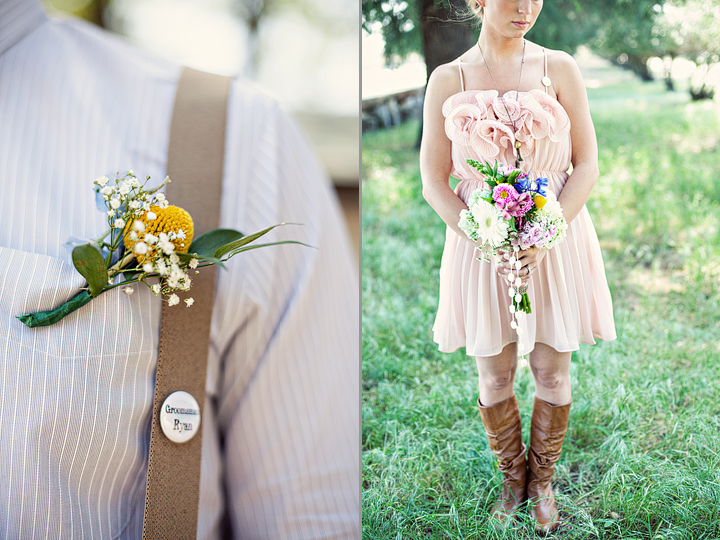
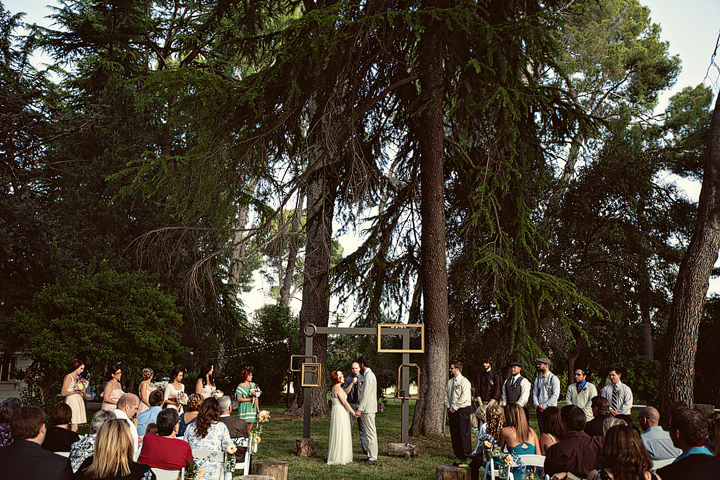
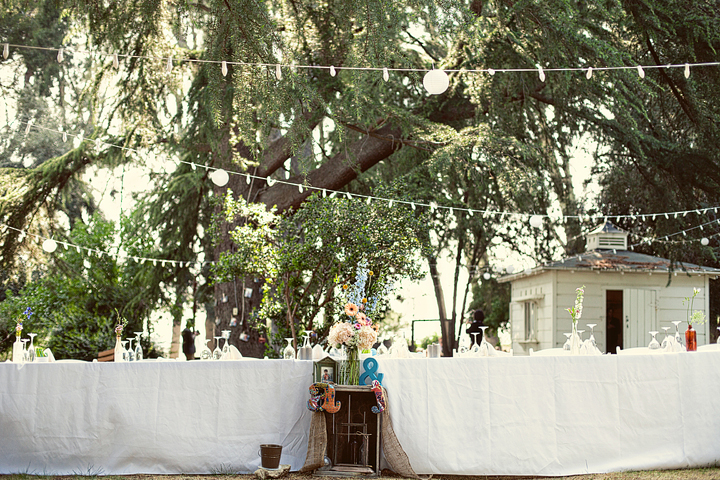
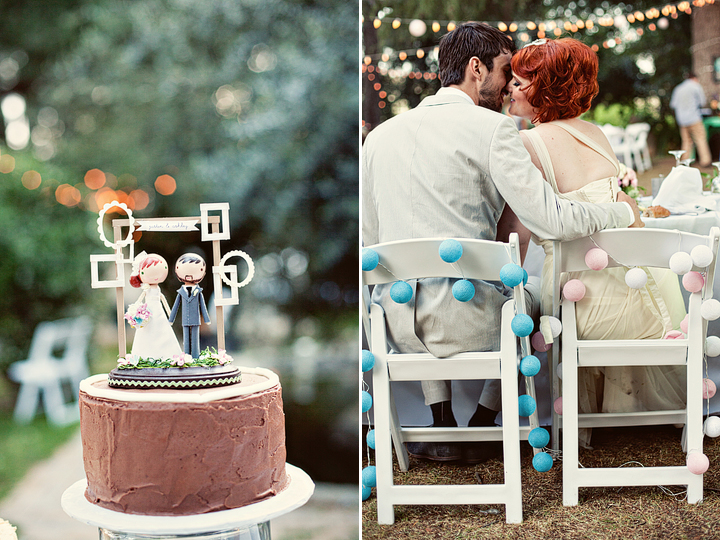
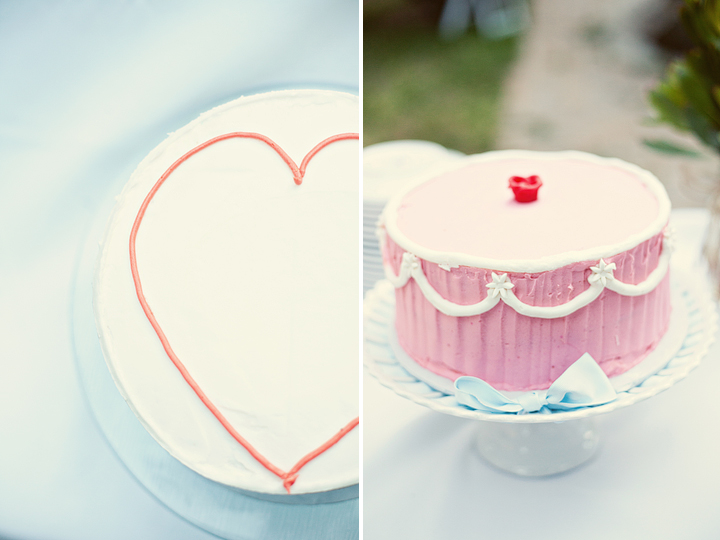
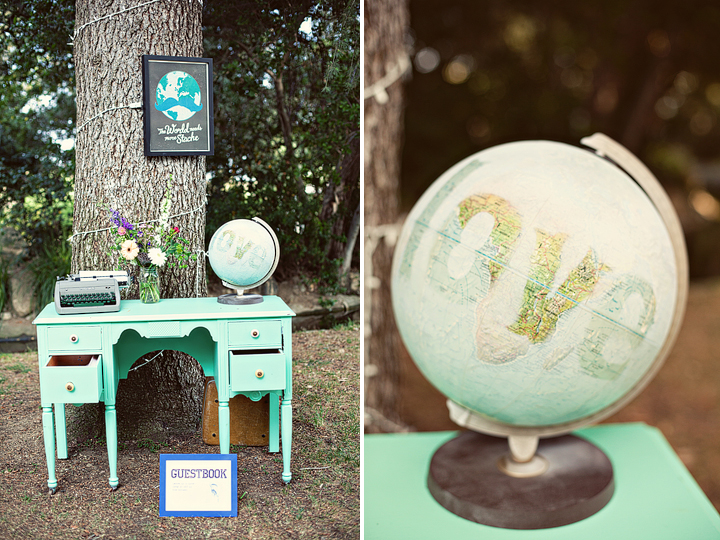
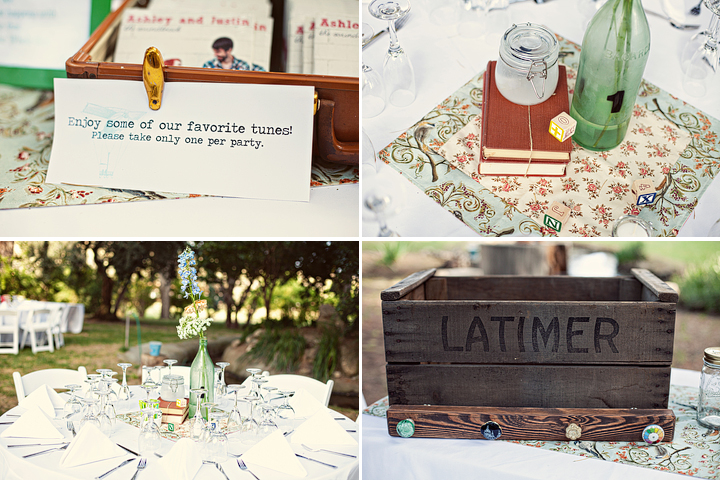
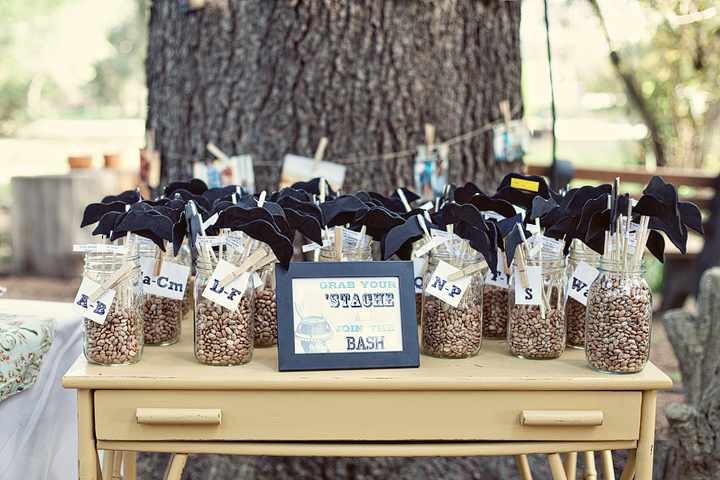

A special thanks their amazing photographer Ashley Rose for sending me a CD of the days pictures.
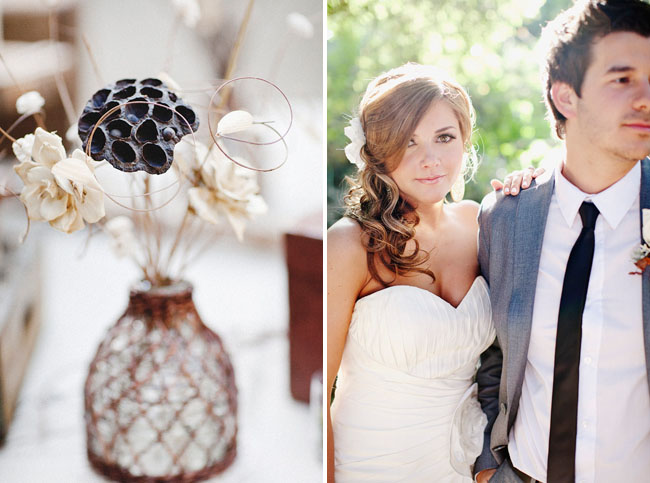
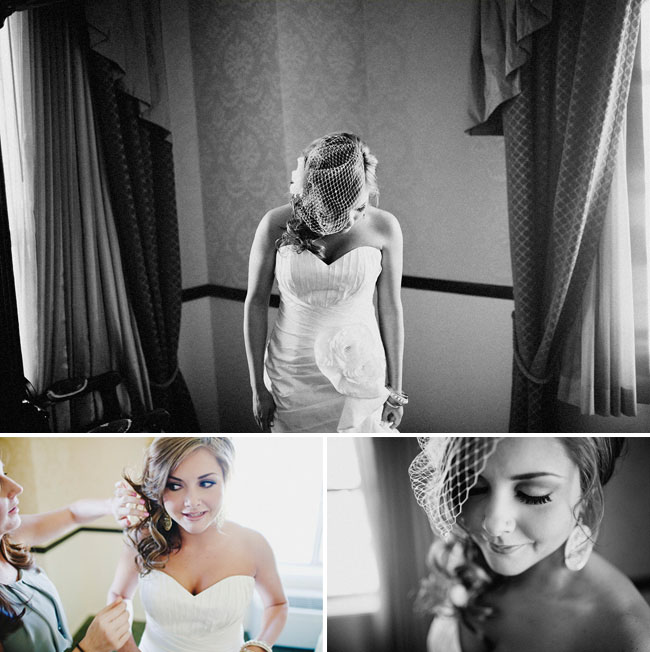
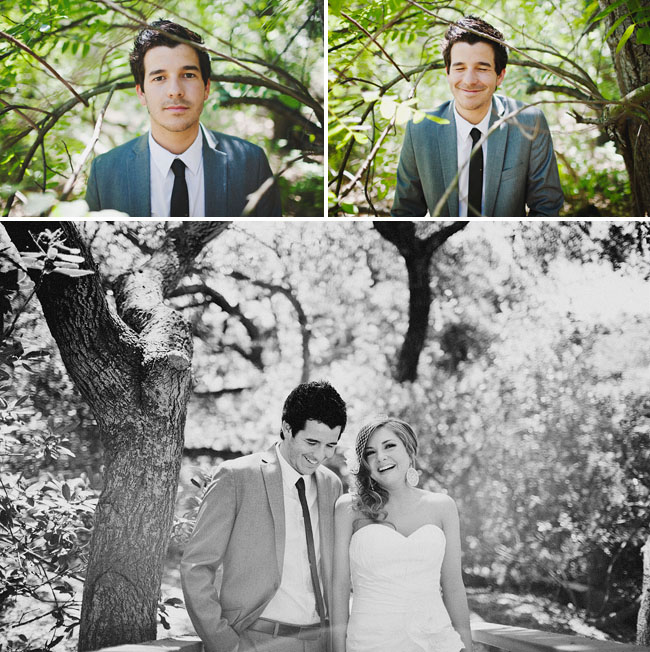
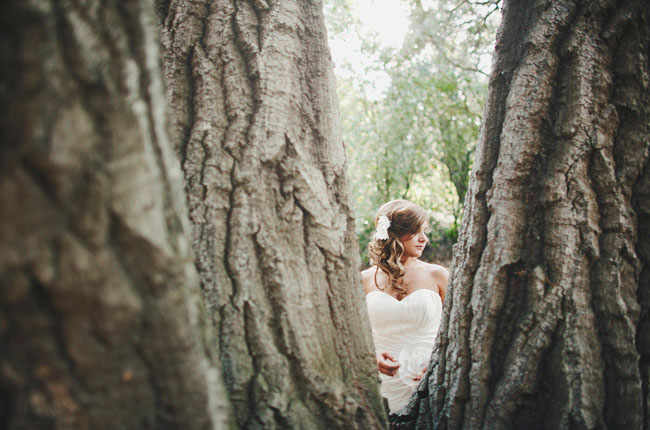
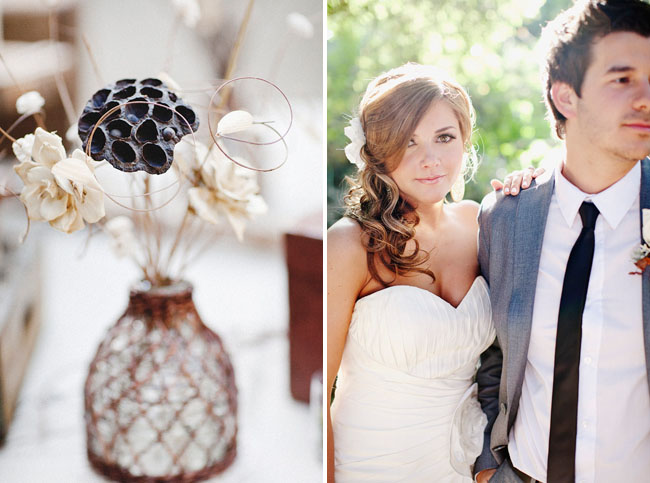
wedding photography {ashley rose photography} wedding venue + caterer {highland springs resort} wedding dress {aidan mattox} weddings shoes {jeffrey campbell} grooms suit {jcrew} wedding paper goods {diy via photoshop} hair piece {twigs and honey} florist + dessert {diy} wedding music {dj:friend}
Andrija and Marki are from Portland Oregon. They decided to skip the complicated traditional wedding planning and instead have a simple romantic wedding with just the two of them in one of their favorite vacationing spots Stowe, Vermont.
They started the day off by getting ready at the TOPNOTCH RESORT AND SPA. I thought Marki was stunning! To me she's a cross between Princess Kate Midleton and Katie Holms. As Marki got her makeup done Logan & the groom left to buy some picnic essentials and cupcakes. Next, we headed out to a spot on a hill overlooking the Waterbury Reservoir for a classic Parisian picnic. After lunch we all took a short canoe ride to the meadow were the Chamber Of Commerce was waiting. We could not have asked for a nicer day. Here are some images from the beautiful day courtesy Logan Cole Photography.
Flowers by THE PAINTED TULIP
Cupcakes by THE CAKERY

I can't tell you how much this mascara has helped my lashes! It's proven to condition and grow your lashes by 22% in two weeks and it has for me. It has these mini fibers built in to the formula so it instantly makes your lashes look longer and fuller. It's also a mineral mascara so there are no allergic reactions here. One of my favorite things about this mascara besides it's healing qualities is the fact that you can squeeze every last drop out. Most of the mascaras I purchase leave a lot of the product on the sides bottle. Without being able to reach the sides with my wand I am forced into making another purchase earlier than I intended, I hate that.
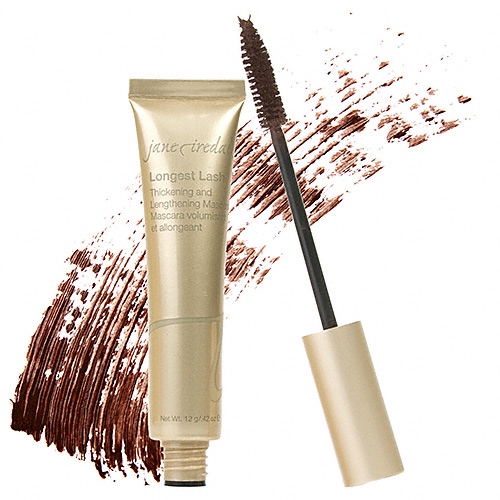
Here is some more information I got from Jane Iredale's website on this mascara:
This dual-purpose formula contains sea minerals that condition lashes so they can grow to their fullest potential, while thousands of cellulose fibers coat the lashes for a look that’s glamorous, rich and full. Expand your lashes’ wardrobe from basic black and brown with four new shades that go from subtle to "look at me!" Our extra large, tapered brush makes application easy and separates lashes effortlessly. • Packaged in a squeezable tube with the highest quality brush • Contains 75% more product than normal mascaras • Conditions lashes so they don’t clump, flake or break
It retails for about $32 dollars but it will last you anywhere from 6 months to a year, a huge difference from every 2 to 3 months!
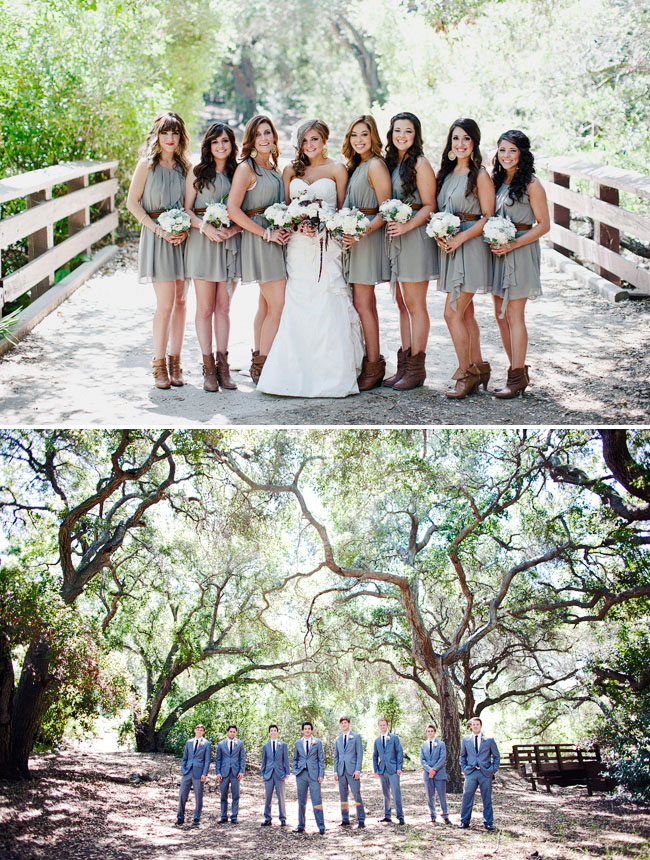
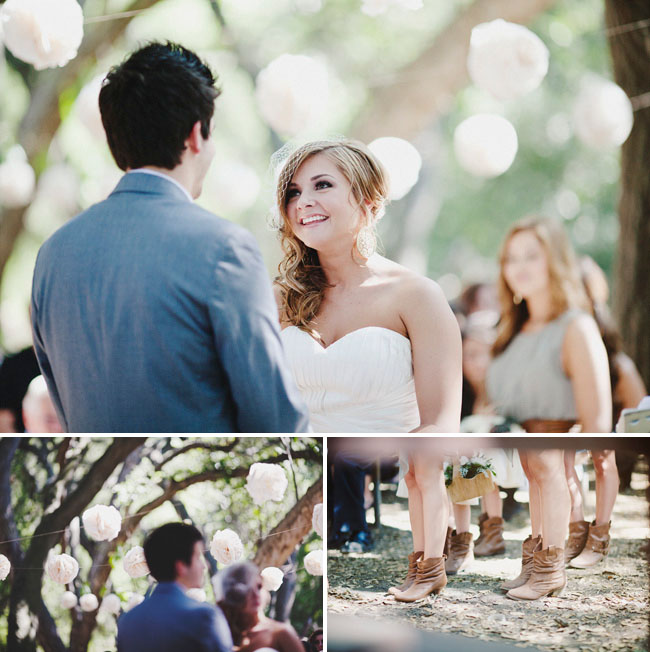
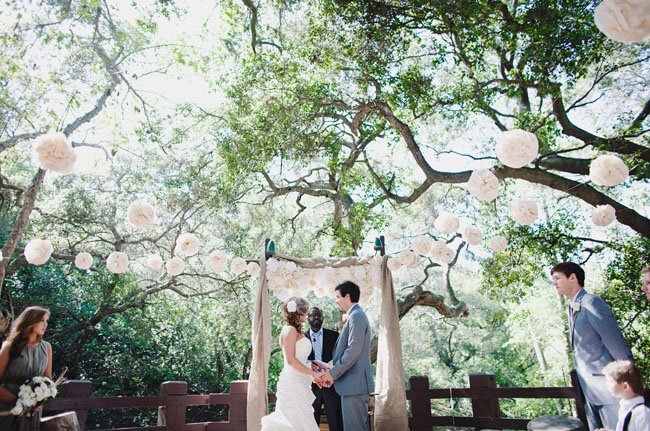
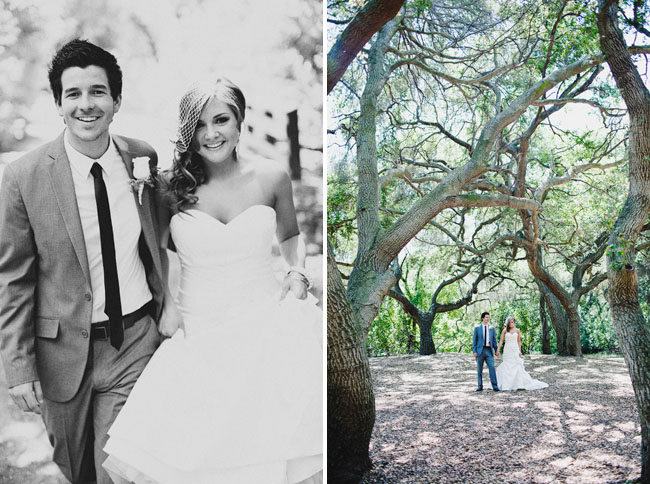
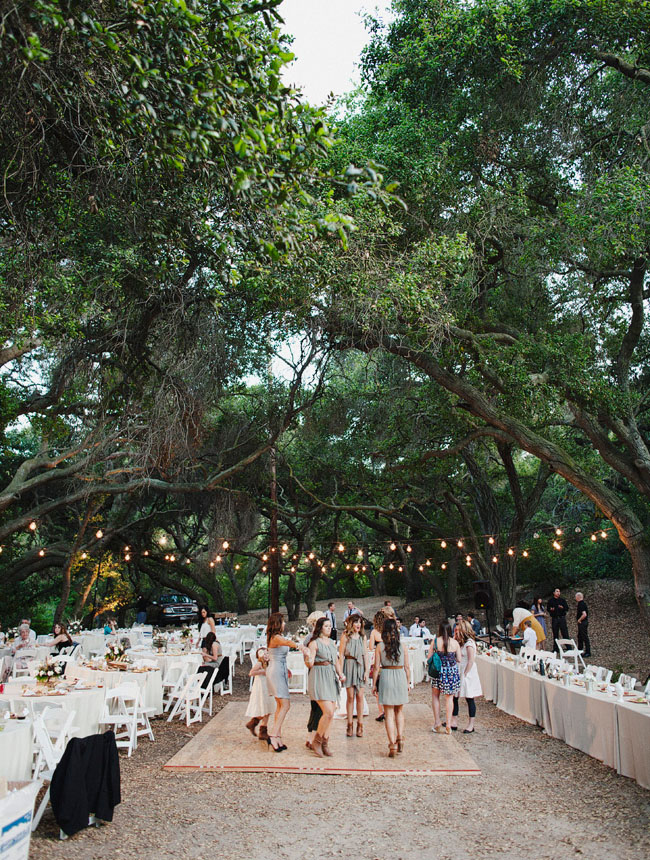 Contributing Vendors
Photography: Hugh Forte (digital – all photos from this post are by Hugh and you can see lots more from their wedding here on his blog) and Doug Boutwell (8X10 film) // Venue: Oak Canyon Nature Center // Cinematography: Stungun // Event Design + Planning: Nancy Park of So Happi Together // Ceremony arch/garlands design + installation: So Happi Together and Olive Hue Paper Goods // Wedding Dress:Debra’s Bridal // Hairpiece: David’s Bridal // Hair and Makeup: Hair was by Dianna Lopez and Makeup was Amy Clarke // Shoes: TOMS shoes // Bridesmaid Dresses: H&M // Groom Suit: Alfani Red from Macy’s // Floral Design: M’s Flowers // Paper Goods: Wedding Paper Divas (invitations) – everything else was done by So Happi Together // Cake: Heaven’s Kitchen (Heather Addison contact at hadd1son@sbcglobal.net) // Catering: Chipotle Mexican Grill // Lighting - Chiavari Chair Rentals
Yay! I just found out one of my weddings was published on www.forgetmeknotweddingsblog.com Ashley & Justing got married earlier this year and their wedding was a do-it-yourself-ers dream!!
I'll be posting images from their day soon but here's one for starters:
Photo courtesy Ashely Rose Photography
I am happy to announce that one of my engagement shoots got picked up by www.greylikesweddings.com! It's a site similar to www.greenweddingshoes.com. Click here to see it.
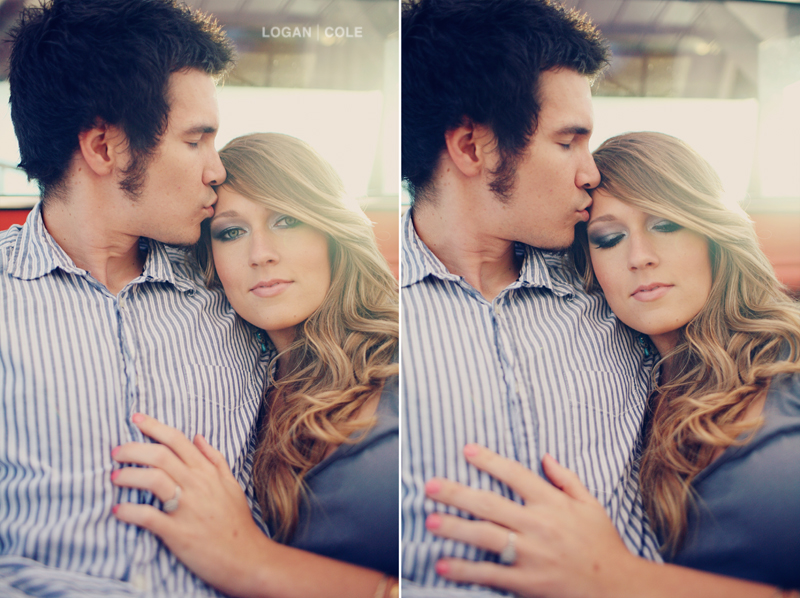
This is the lovely couple who is getting married this October. Images by Logan Cole.
 Welcome to my new blogsite!! I hope you check back often, I will be catching up on all the work I've been doing lately and also be including product reviews. Please make sure to "LIKE" my fan page, and subscribe to my blogsite. I hope you enjoy it as much as I do! (photo courtesy Denise Bovee)